Cut up those cheap $8 Ikea tables on a table saw and velcro them to your wall with 3M Low Profile Dual Lock.

How I Did It:
- Measure how much you want the back panel to stick out around the TV and figure out how many Ikea tables you'll need to buy. Each table top measures 21-5/8" x 21-5/8" x 2" thick. I bought 6 but only ended up using 5. I ended up being able to cut the middle top and bottom pieces from one table. For reference, my TV is a 52".
- Decide how you want to divide up the panels. I kept the top & bottom middle panels full width because the majority of the support in Ikea panels/tables is in the edges. The middle sections are just supported by paper so if I would have cut the edges of the middle panels I would have been left with only one support edge creating a very very fragile panel.
- Measure how much interior clearance you'll need for the TV side of the wall mount.
- Cut the panels on a table saw, making sure you keep the finish side up so you don't scratch it all up.

- Add the 3M "velcro" to the back of the panels and to the TV wall. NOTE: Do not put too large of pieces on both surfaces. If you do, there's no way the 3M velcro will fully click together. I kept both the wall and panel pieces the same size as shown below but if you're having trouble aligning the panels or getting them to click together my suggestion is to keep the pieces on the panel small and stick larger ones on the wall. Also, it'll take some pretty hard hits to get the two velcro sides to click together so make sure put your velcro strips on the reinforced parts of the panels.

- Draw on the wall behind the TV the outline of where the panel will mount to the wall. Your most important lines are you upper horizontal and left vertical lines since you'll be aligning your initial pieces off of these.
- Starting with the upper left side, adhere the panel to the wall, making sure it's level and aligned with your lines.
- Next install the rest of the panels working in a clockwise fashion - upper middle, upper right, lower right, lower middle, lower left.


- If you were careful and/or lucky the lower left will line up with the upper left.

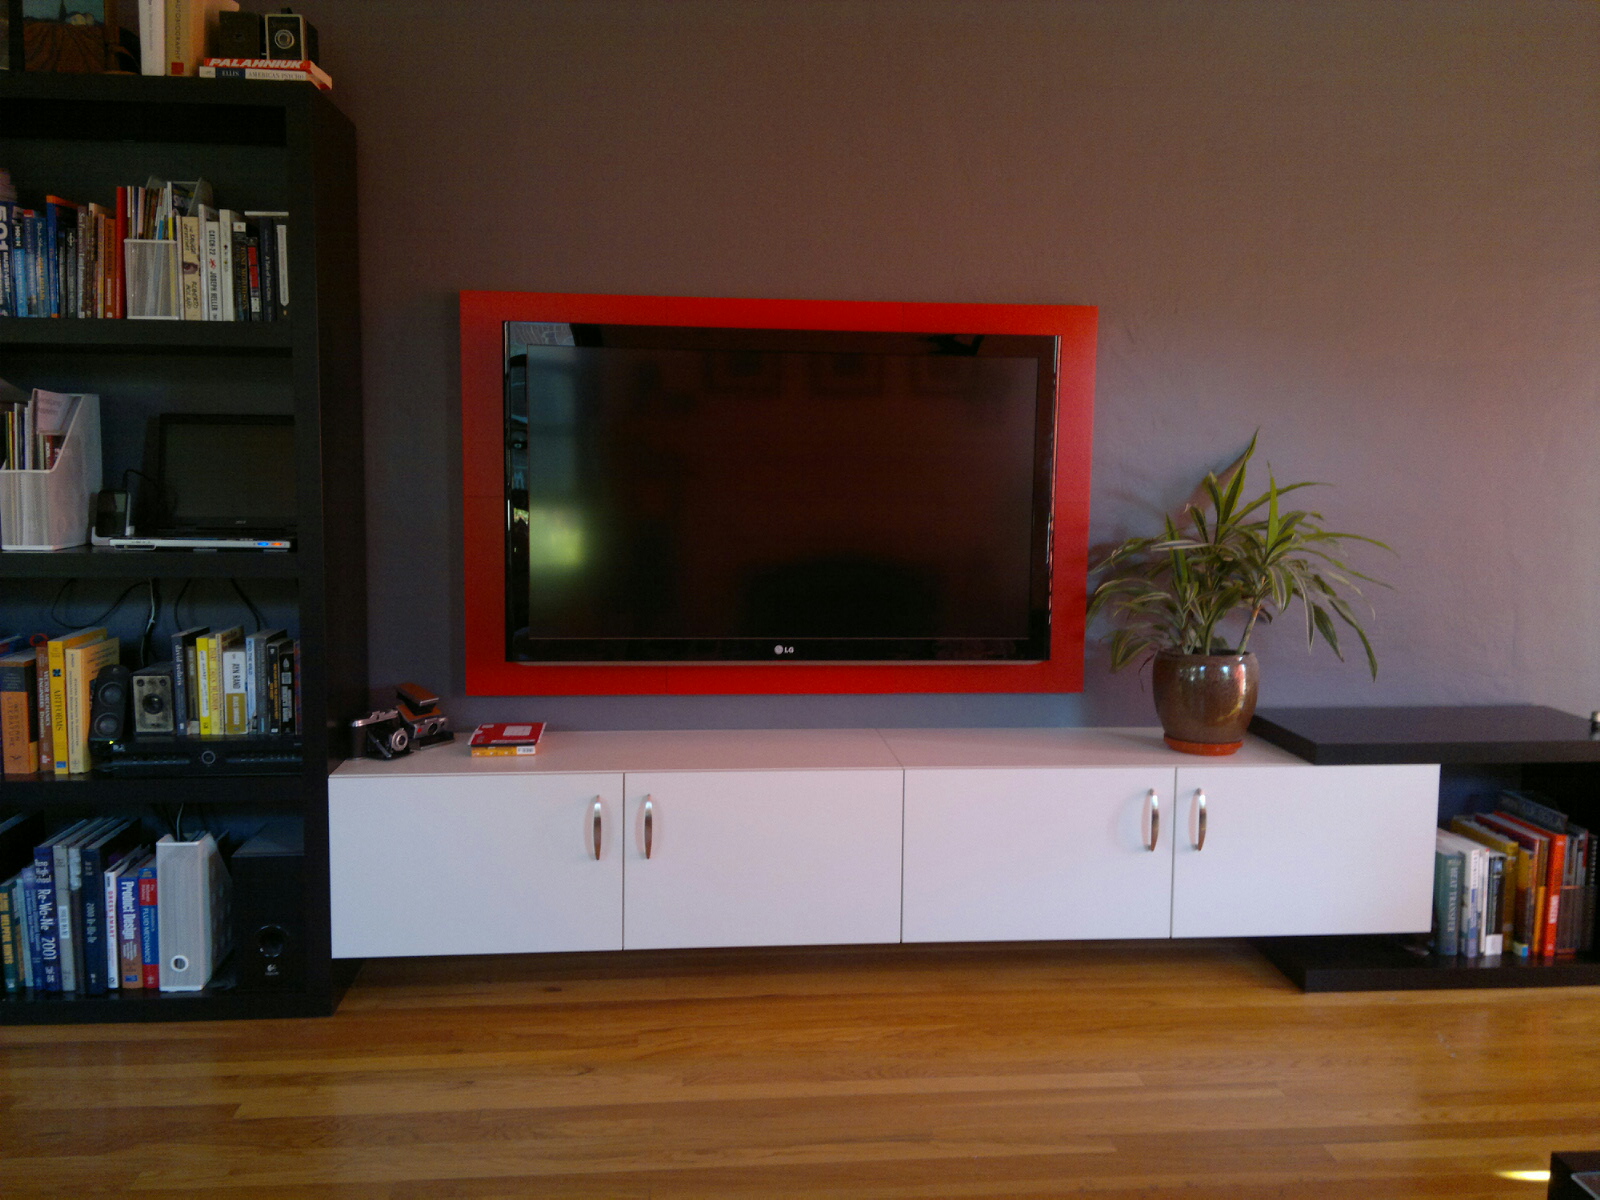
- Aaaaaand, all done.

There are a bunch of different ways to frame your TV. A full sheet of plywood or MDF would have been easier but much heavier and I would have had to mount into wall studs to support it. And then I would have had to paint it a glossy red. These Ikea tables are cheap and the 2" thickness was the exact measurement I needed to fill in the large gap left by the fully adjustable HDTV wall mount.
NOTE: Depending on your wall mount you will lose a few degrees of pivot since the edge of your TV will now bottom out on the frame rather than the wall. This shouldn't be an issue for most living room setups though.
So yeah, good luck. Oh, and if you're wondering, the wall mount is a Sanus similar to this one. And please excuse my fat (by today's standards) TV. It would look much better with a sleek edge lit one...
Here are some more pictures:


I love what you've done here. It's a very clean and polished look for hiding the TV mount and cables and the red color choice highlights the wall nicely. The look is great, the idea ingenious.
ReplyDeleteThank you!
DeleteFantastic ideas that you have made on your TV.I love framing a TV .It gives amusing view on our television .
ReplyDeletesamsung tv frames
Absolutely love this elegant (and cheap!) solution to that pesky visible cable problem. Thanks for sharing the instructions.
ReplyDeleteAlso really love the little black wrap around extension at the right hand end of your entertainment unit - where did you source this or is it custom made?
Thank you. It's just this Ikea EXPEDIT unit with the side cut down:
ReplyDeleteIkea 2x2 Expedit unit
I just used right angle brackets to secure the end which had the mounting holes cut off.
Genius - thanks Michael! That will resolve my difficult corner really beautifully.
ReplyDeleteAwesome! Post pictures if you can!
ReplyDeleteIt's a very creative and wonderful idea.I really appreciate it. Thank for sharing this post.
ReplyDelete